
There’s a moment in every holiday kitchen when the world seems to pause. Your turkey has just come out of the oven golden, tender, releasing those deep, nostalgic aromas that fill your home with warmth and anticipation. And right then, as everyone waits for the carving, your focus shifts to the small pool of drippings resting at the bottom of your roasting pan. You know that what you do with those drippings will decide the flavor of every plate that reaches the table.
This is where Homemade Turkey Gravy steps in. Not the jarred kind. Not the packet mix. But the real deal the kind you whisk together with confidence, knowing that it will bring your meal to life. Whether you’re hosting your first holiday dinner or you’ve been doing this for years, you deserve a foolproof way to create gravy that’s smooth, rich, and full of depth.
This guide will walk you through everything you need to know: ingredients, technique, variations, storage, FAQs, and more. By the time you finish, you’ll feel ready to make a gravy that guests talk about long after the dishes are washed.
Table of Contents
Why Homemade Turkey Gravy Matters
When you craft gravy from scratch, you’re not just following a recipe—you’re building flavor from the ground up. You’re using simple kitchen basics and transforming them into something extraordinary.
Here’s why Homemade Turkey Gravy always stands out:
- Unmatched flavor: Store-bought gravy can’t replicate the richness you get from real turkey drippings.
- Customizable: You control the salt, herbs, thickness, and overall flavor profile.
- Pairs with everything: From turkey and mashed potatoes to stuffing, rolls, and even next-day leftovers.
- Comfort factor: Gravy brings the entire meal together. It’s the “glue” of holiday comfort food.
Surveys from popular cooking sites consistently show that home cooks vote homemade gravy as one of the “must-have” elements on a holiday spread. And once you taste your own version, made from your own drippings, you’ll understand why.
Essential Ingredients for Homemade Turkey Gravy
Before you start whisking, gather everything you need. Gravy comes together quickly, so having ingredients ready will keep the process smooth.
Ingredient Table
| Ingredient | Amount | Notes |
|---|---|---|
| Turkey drippings | 1–1.5 cups | From roasted turkey |
| Unsalted butter | 4 tbsp | Helps control salt levels |
| All-purpose flour | 4 tbsp | For building the roux |
| Chicken or turkey broth | 2–3 cups | Add gradually |
| Salt | To taste | Add slowly |
| Black pepper | To taste | Freshly ground preferred |
| Herbs (optional) | As needed | Thyme, rosemary, sage |
Why these ingredients matter
- Drippings are your flavor base. They contain everything the turkey released—fat, juices, browned bits, herbs.
- Butter + flour create a roux, which gives your gravy its body and prevents lumping.
- Broth allows you to control the thickness and flavor intensity.
- Herbs introduce complexity without overpowering your turkey.
If you don’t have enough drippings—or none at all—you can still make a deeply flavorful gravy with broth alone. You’ll simply rely on butter, flour, and aromatics to build that roasted flavor.
How to Make Homemade Turkey Gravy (Step-by-Step)
This method is approachable for beginners but rooted in the techniques experienced cooks swear by. A food thermometer is the most reliable way to check that poultry has reached a safe internal temperature.
USDA Safe Minimum Internal Temperatures
Step 1 — Prepare Your Pan Drippings
When your turkey is done roasting, remove it from the pan but leave the drippings behind. You’ll usually have a mix of fat, browned bits, and concentrated juices.
How to separate the fat
- Pour the drippings into a fat separator, or
- Let them rest in a bowl and skim fat from the top with a spoon.
Some of this fat will replace part of the butter used in your roux, adding even more flavor.
Step 2 — Make the Roux
A good roux is the backbone of a smooth gravy.
- Melt the butter (or turkey fat) in a saucepan over medium heat.
- Add the flour gradually, whisking continuously.
- Cook for 2–3 minutes until the mixture turns light golden.
Tips for success
- Don’t rush the whisking—steady movement keeps the roux lump-free.
- A darker roux gives a deeper flavor but thickens slightly less.
- Avoid burning; burnt roux affects the whole batch.
Step 3 — Add Broth and Drippings Slowly
This is where the magic happens.
- Pour in warm broth a little at a time.
- Whisk constantly to keep the mixture silky.
- Add pan drippings slowly, watching the color deepen naturally.
- Continue adding liquid until your gravy reaches your ideal thickness.
Texture control
- Thicker gravy → use less broth.
- Lighter gravy → add more broth or simmer longer.
Step 4 — Season and Simmer
Once everything is combined:
- Simmer for 5–10 minutes.
- Stir occasionally to prevent sticking.
- Add salt, pepper, and herbs as needed.
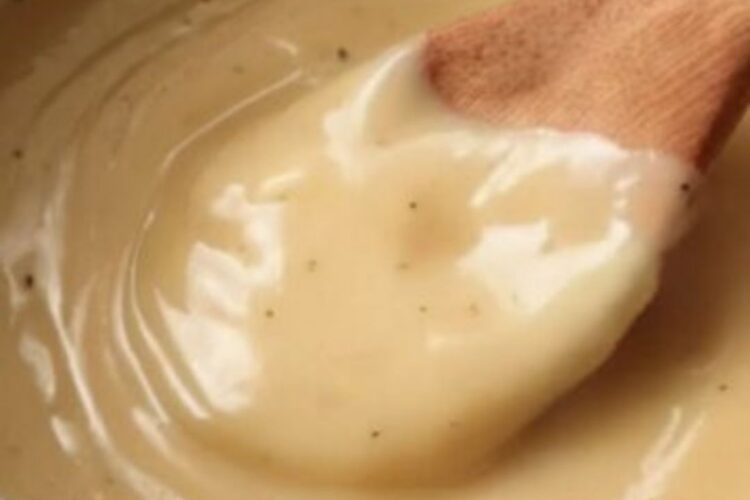
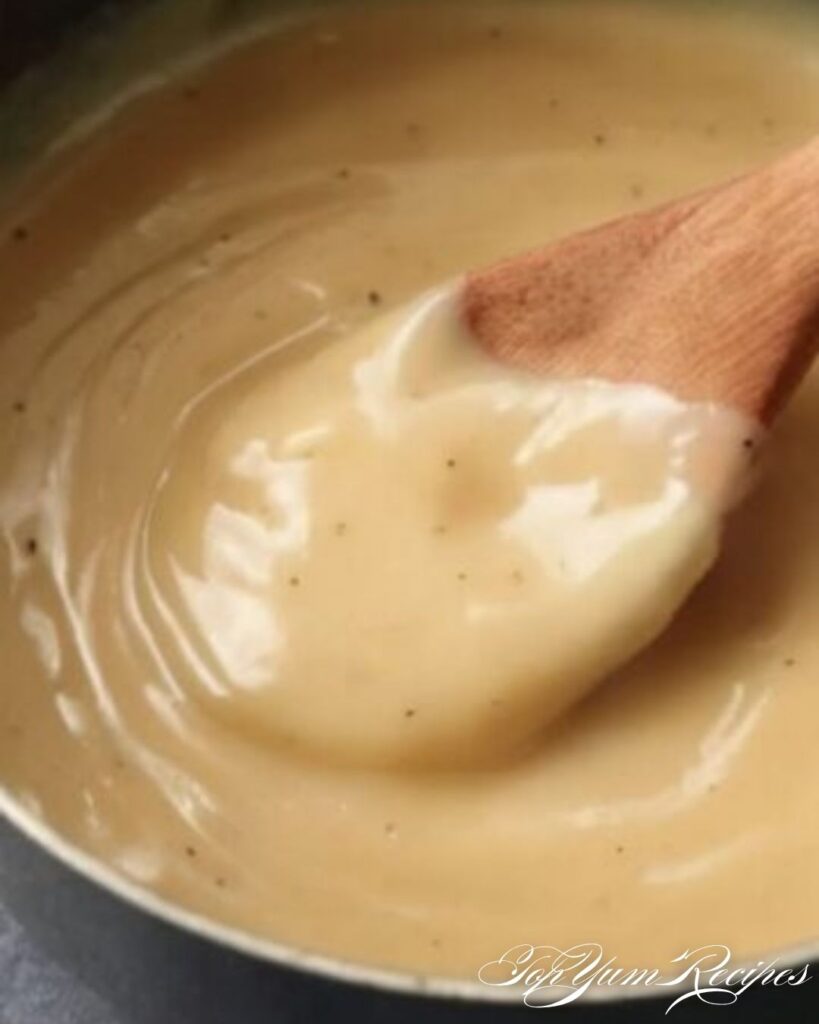
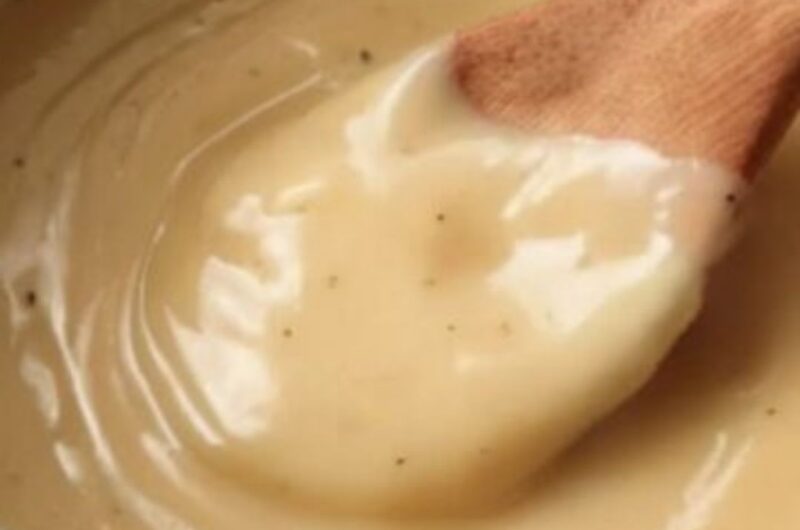
You’ll watch the gravy transform into a glossy, velvety sauce that clings beautifully to turkey slices and mashed potatoes.
Expert Tips for Perfect Gravy
Follow these extra pointers for restaurant-quality results:
- Add a splash of cream at the end for richness.
- If your gravy is too thin, use a cornstarch slurry (1 tbsp cornstarch + 2 tbsp cold water).
- If too thick, simply whisk in more warm broth.
- Strain your gravy for a perfectly smooth finish.
- If it tastes too salty, thinning with unsalted broth instantly balances it.
Variations of Homemade Turkey Gravy
Once you master the classic version, you can experiment with different flavors.
Classic Brown Gravy
Let your roux cook slightly longer to bring out a deeper, toasted flavor.
Herb-Infused Gravy
Simmer your gravy with thyme sprigs, rosemary, or sage for a seasoned finish.
Gluten-Free Turkey Gravy
Swap flour for cornstarch or rice flour.
- Use 2 tbsp cornstarch mixed with cold water for every 2 cups of liquid.
Creamy Turkey Gravy
Finish with heavy cream or half-and-half for a smooth, velvety result.
Serving Suggestions for Homemade Turkey Gravy
Gravy might be made for turkey, but don’t let that stop you from using it generously.
Perfect pairings include:
- Roast turkey
- Mashed potatoes
- Stuffing
- Buttermilk biscuits
- Green beans
- Roasted carrots
- Turkey sandwiches the next day
Try spooning a little gravy over each item on the plate—it gives the entire meal a cohesive flavor.
Storage and Reheating Instructions
You can easily make gravy ahead or store leftovers.
Refrigeration
- Keeps well for 3–4 days in an airtight container.
- Reheat gently over medium-low heat, whisking occasionally.
Freezing
- Gravy freezes beautifully for up to 3 months.
- Freeze in individual portions for convenience.
- Thaw overnight in the fridge, then warm slowly with a splash of broth.
If the gravy separates after thawing, whisking or blending brings it right back together.
Nutrition Information (Approximate)
These numbers vary depending on the fat content of your drippings, but here’s a general idea per ¼-cup serving:
- Calories: ~90–110
- Fat: 6–8g
- Carbs: 4–6g
- Protein: 1–2g
- Sodium: Depends heavily on broth
To reduce calories, use less butter and skim more fat from the drippings.
Conclusion
When you make Homemade Turkey Gravy, you take control over one of the most important elements of your holiday meal. You’re not just whisking ingredients; you’re creating a sauce that ties your entire dinner together. You’re building flavor from the roasted turkey itself, layering richness and depth into every spoonful.
Whether this is your first time making gravy or you’re refining your technique, you now have everything you need to create a smooth, luxurious gravy that feels crafted—not poured from a jar. And once you taste what you’ve made, you’ll understand why so many cooks consider gravy their favorite part of the meal.
FAQ About Homemade Turkey Gravy
Why is my Homemade Turkey Gravy lumpy?
Lumps usually happen when flour isn’t whisked smoothly into the fat or the liquid is added too quickly. To fix it, pour the gravy through a fine strainer or blend it briefly.
Can I make Homemade Turkey Gravy without drippings?
Yes. Use butter, broth, and flour to build flavor. Adding herbs, bouillon, or roasted vegetables can deepen the taste.
How do I thicken Homemade Turkey Gravy?
A roux or cornstarch slurry works best. You can also simmer your gravy longer to reduce the liquid naturally.
Can I make turkey gravy ahead of time?
Absolutely. Prepare it 1–2 days before serving and reheat gently, adding a splash of broth if it thickens.
How much Homemade Turkey Gravy should I make per person?
Plan for ¼ to ⅓ cup per person. If your guests love gravy, aim for the higher amount.
Call to Action
Now that you have a complete guide to creating flawless Homemade Turkey Gravy, it’s time to put your skills to work. Try this method with your next roast, experiment with variations, and make the gravy your own. If you want more holiday recipes, meal ideas, or kitchen guides like this, feel free to ask—I’m here to help you create unforgettable meals from start to finish.
The Best Homemade Turkey Gravy: Your Guide to Silky, Rich Holiday Perfection
Course: Flavored MarinadesCuisine: AmericanDifficulty: EasyIngredients
¼ cup pan drippings fat and juices
3 tbsp all-purpose flour
2 –3 cups turkey stock or chicken broth
Salt and pepper to taste
Optional: ½ tsp poultry seasoning or thyme splash of white wine, 1 tbsp butter
Directions
- Step 1 — Prepare Your Pan Drippings
When your turkey is done roasting, remove it from the pan but leave the drippings behind. You’ll usually have a mix of fat, browned bits, and concentrated juices.
How to separate the fat
Pour the drippings into a fat separator, or
Let them rest in a bowl and skim fat from the top with a spoon.
Some of this fat will replace part of the butter used in your roux, adding even more flavor. - Step 2 — Make the Roux
A good roux is the backbone of a smooth gravy.
Melt the butter (or turkey fat) in a saucepan over medium heat.
Add the flour gradually, whisking continuously.
Cook for 2–3 minutes until the mixture turns light golden.
Tips for success
Don’t rush the whisking—steady movement keeps the roux lump-free.
A darker roux gives a deeper flavor but thickens slightly less.
Avoid burning; burnt roux affects the whole batch. - Step 3 — Add Broth and Drippings Slowly
This is where the magic happens.
Pour in warm broth a little at a time.
Whisk constantly to keep the mixture silky.
Add pan drippings slowly, watching the color deepen naturally.
Continue adding liquid until your gravy reaches your ideal thickness.
Texture control
Thicker gravy → use less broth.
Lighter gravy → add more broth or simmer longer. - Step 4 — Season and Simmer
Once everything is combined:
Simmer for 5–10 minutes.
Stir occasionally to prevent sticking.
Add salt, pepper, and herbs as needed.
You’ll watch the gravy transform into a glossy, velvety sauce that clings beautifully to turkey slices and mashed potatoes.


[…] milk chocolate or dark chocolate, add a tiny pinch of flaky salt, or make miniature pieces for a holiday dessert […]